Gaining Speed and Reducing Costs – Zortrax Motorcycle Case Study
BACKGROUND: Keeping in our minds the motto „go big or go home” and the great opportunity of having our next big thing – Zortrax M300 with us, we couldn’t stand not exploring its full capacity. As the history of motorcycles shows, one of the most essential things that some of the popular companies lacked at some point of their performance was trend watching and modifying the old ways of production to keep up with the changing standards of the market. As the spokesmen for innovation we say no more to the inefficiency, unnecessary manual work and long supply chains. Not tolerant to big expenses and open to new challenges, we decided to try our hands at reengineering the model of the real Triumph Daytona motorcycle, precisely all the elements apart from the mechanical ones. Just to add, in 1:1 scale.
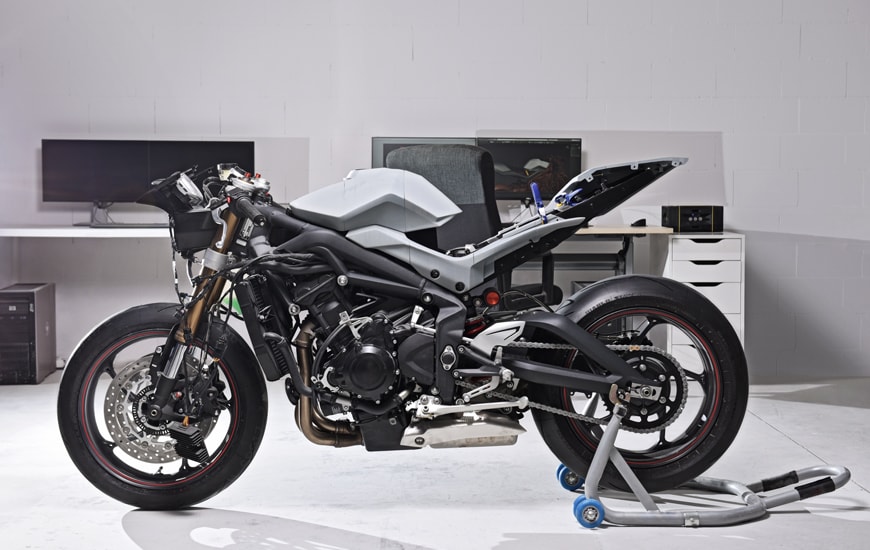
Motorcycle standing in the workshop
THE GOAL: The first and the most basic purpose was testing the prototyping capacity of the Zortrax M300 3D printer and the way it actually speeds up the process thanks to the bigger working area. Yet another thing was checking if its possible to redesign and 3D print parts of the motorcycle, make them match, perform their role and reflect the look of professional parts. We put the bar really high, but also this time we were sure that our device will be as reliable as its famous predecessor – Zortrax M200.
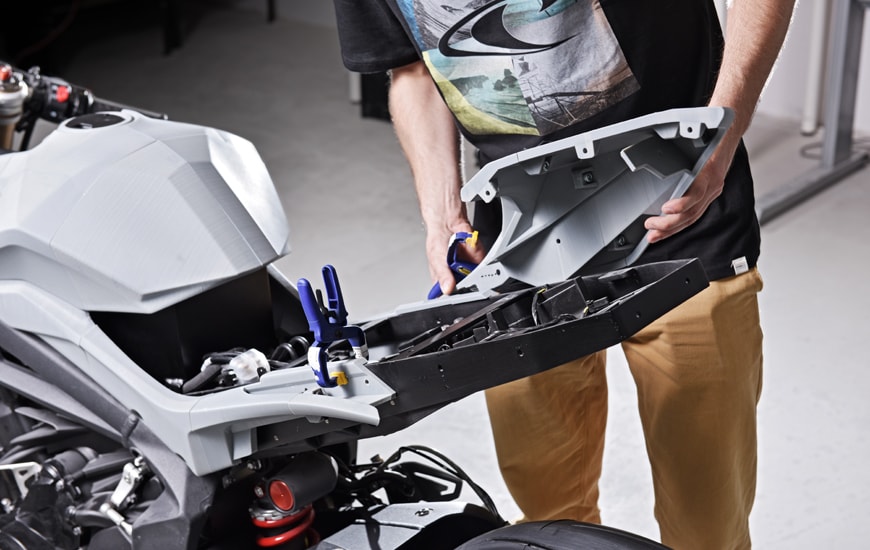
Zortrax engineer installing 3D printed parts of the motorcycle
THE PROCESS: The first thing that was to be done was disassembling the motorcycle parts, so they could be measured. To get all dimensions extra accurate and make the whole process faster, we used a 3D scanner. This option is also really convenient as the scanner recreates the object by using a mesh of connected points, which can be easily transferred into Z-SUITE software and converted into a printable model.
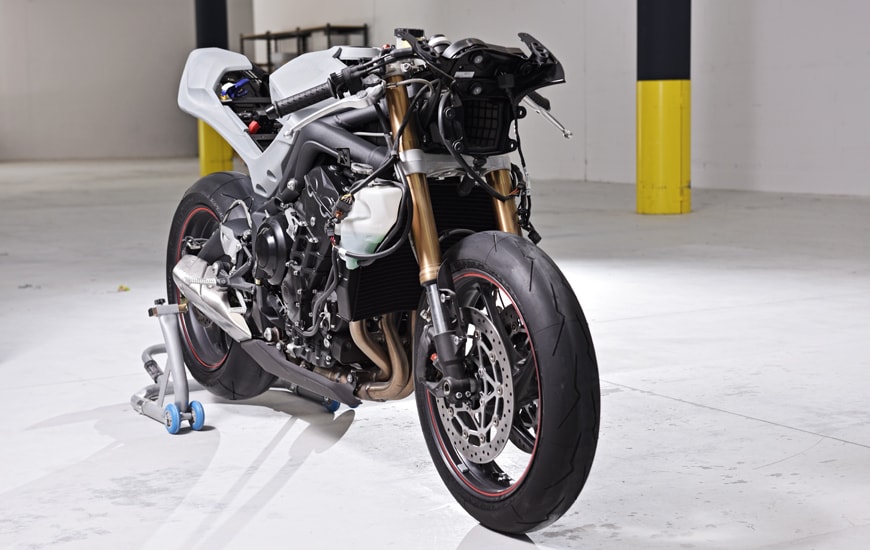
Zortrax motorcycle during redesign
After scanning the elements including: casing, fairings, seat, windshield, lights and mirrors we could move to the next part – redesigning. The actual process, which is done here is called reverse engineering and is based on recreating the shapes and dimensions of objects that already exist. As you may expect, 3D printing plays a big role here as its basically about creating the physical shapes based on the digital models. It is worth mentioning that our main aim was to reshape rather than reproduce, as the dimensions of the original parts were just a basis to create our own, differently shaped parts that would still fit each other.
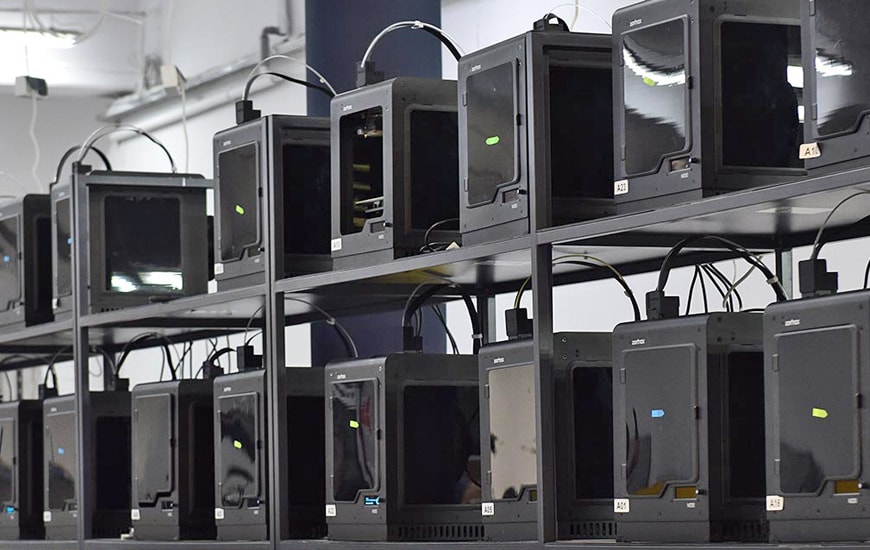
Zortrax M200 3D printers
We have to admit that the printing process of 3D printing such a large vehicle together with assembling took us a whole month. Still, we think that that’s a really good timing taking into account the size of the model and the whole amount of work we had to do. As we also had some small elements to print, we make also a good use of a few M200 3D printers that we have in our headquarters.
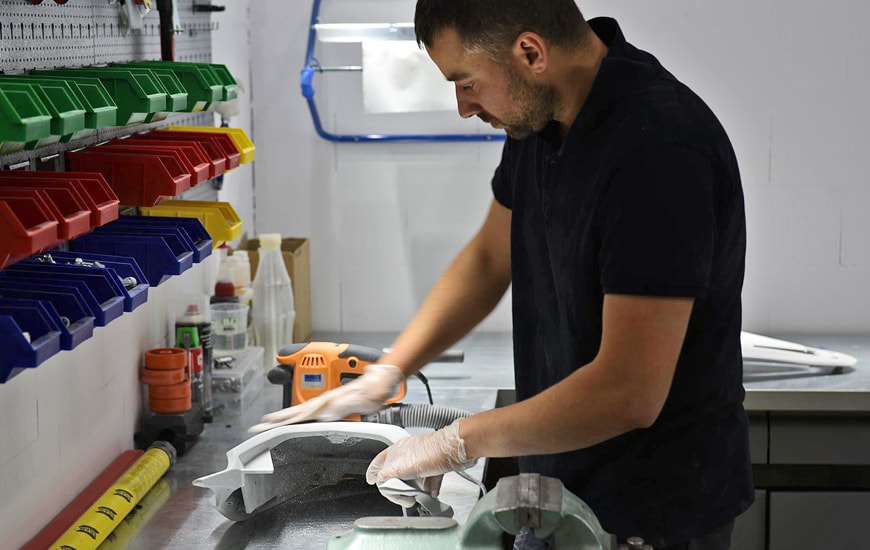
Post-processing of a 3D printed part for the motorcycle
Although the 3D printed parts were fo high quality, they needed to be polished to make their surface extra smooth and provide better adhesion of the primer, putty and paint. To obtain the optimum effects we recommend to start with the low grit sandpaper and change it to the bigger one to get rid of all the scratch marks left as the result of each polishing. Those of you who would like to get more details about sanding, can find them here.
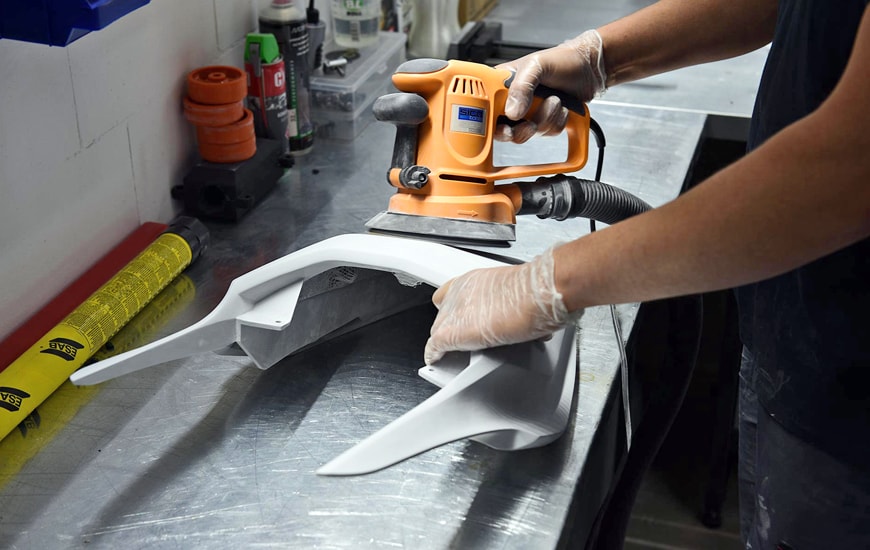
Sanding of the 3D printed part
All the 3D printed parts were then covered with a layer of body filler that was to make the surface even smoother by filling all the micro gaps or scratches. After leaving the parts for some time to get dry they were sanded for the second time. Such prepared elements were moved to the special spray painting booth.
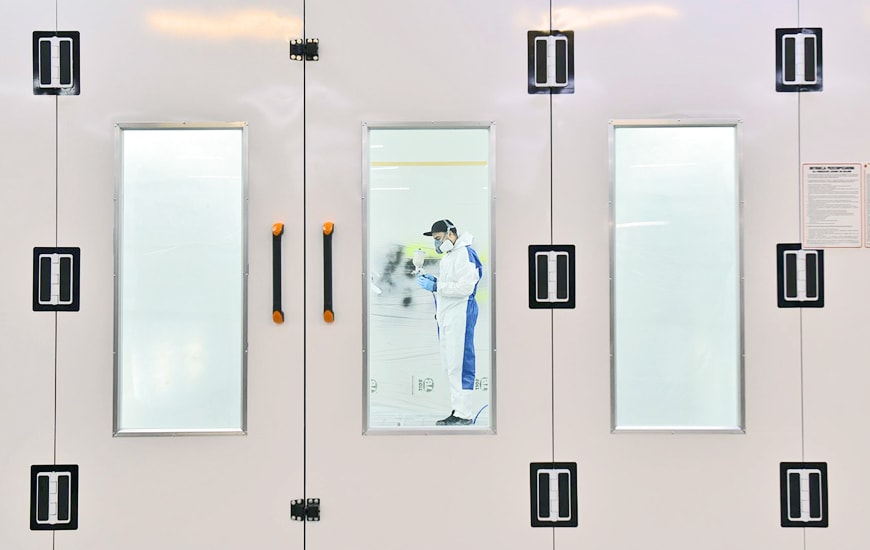
Painting in progress
To cover the objects evenly and avoid damp patches, the paint was applied by using a special gun spray. Each of the parts was covered by primer and a few thin layers of paint. Each of them was applied only after checking that the previous one has been completely dry.
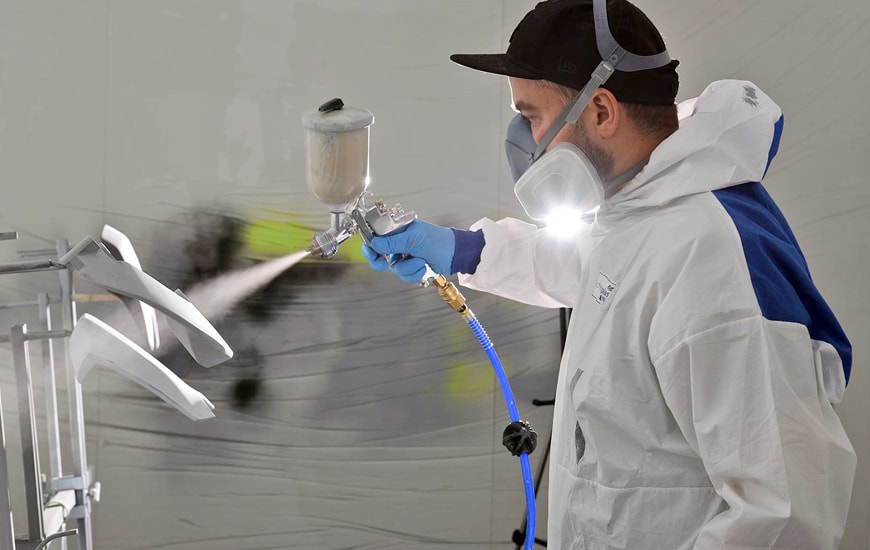
Applying layer of paint with spray gun
Some of the motorcycle elements were left unpainted intentionally – the matte surface of black Z-HIPS made a nice contrast with the ultra shiny gray casing. After finishing all the post-processing our team were to assembly the reshaped version of the motorcycle and install all the electronics. To give the bike even more unique look we decided to add a small colour accent in a form of blue leds in the front lights.
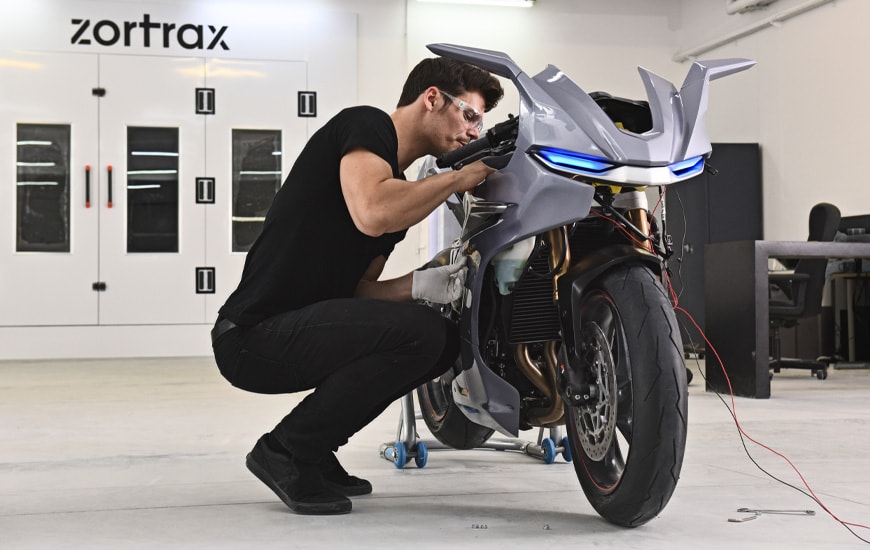
Engineer installing 3D printed parts on the motorcycle
THE RESULT: Although the process cannot be described as short and sweet, the time necessary for completing the project was reduced to a large extend. It is also worth adding that without the use of the 3D technology and supported only by the traditional methods it would be impossible to finish. After a month of constant work the redesigned model of a motorbike was ready to use and to present to the audience. Just to put it short: the tempo was really fast but the results were beyond our wildest dreams. All the components looked professional as they were perfectly matched, shiny and smooth, making together one unity.
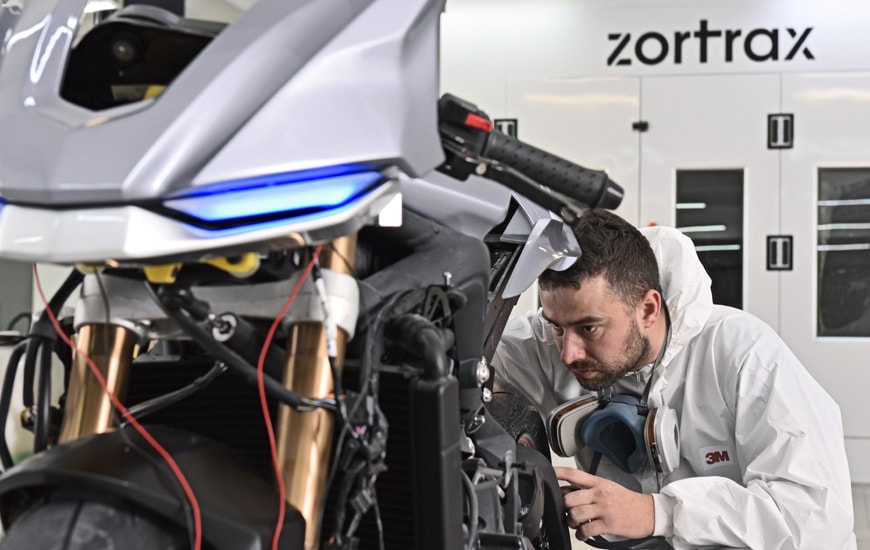
Last check-up
THE CONCLUSION: It was worth it. Although the pace of work was really extreme and at the end it made our team work day and night the results were impressive. Perfection? Better- we’ve got the coolest custom-made ride in the hood and we owe it only to ourselves. Apart from the great visual side of the vehicle and the fact of possessing one of a kind bike, we put our focus also on the more industrial side of our case study. The main conclusions that came into our mind were that in fact by excluding unnecessary or time-consuming activities, not to mention the outsourcing and the costs connected, we changed the whole production cycle. What we in fact lead to was shorter and fewer activities, that were done in-house and because of that easier to coordinate and control.
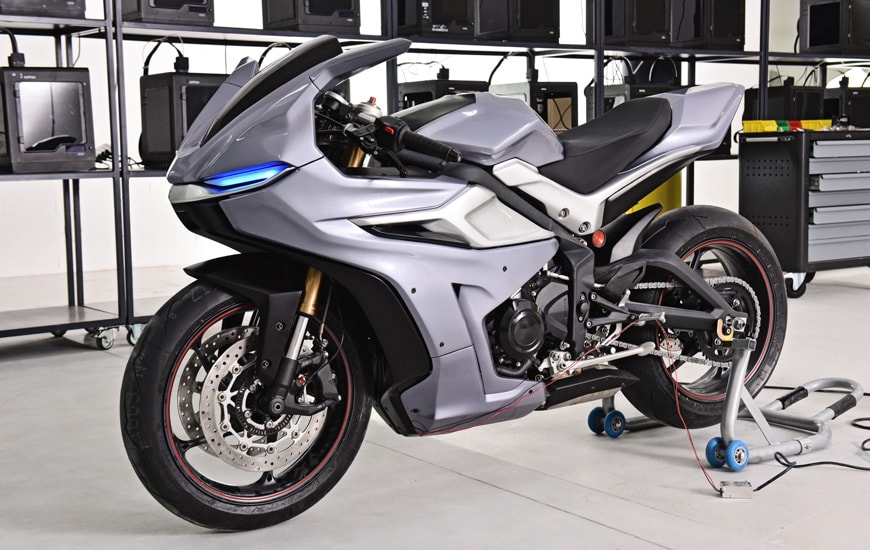
Zortrax motorcycle ready to go