Metal 3D Printing: Practical Tips for Printing Movable Mechanisms
Over the last several months, our top 3D printers — an industrial Zortrax Endureal and a desktop Zortrax M300 Dual — have gained metal 3D printing capability, which gives users a new spectrum of production possibilities. Without involving CNC machines and simply by using tools and accessories available in Zortrax Full Metal Packages, you can now adapt your 3D printer to produce either 316L or 17-4 PH steel parts. Zortrax engineers have made sure that the entire 3D printing process with metal filaments was not complicated. You can read detailed instructions on how to prepare Endureal or M300 Dual for metal printing in these articles: Metal 3D Printing Now Possible on Zortrax Endureal and Metal 3D Printing Comes to Your Desktop with Zortrax M300 Dual.
Once your 3D prints (“green parts”) have been post-processed by an external company, you get metal parts that have all the properties of standard steel, including high hardness, as well as impact, abrasion and corrosion resistance. Metal 3D printing has multiple applications across many industries — from automotive parts, hydraulic system components and decorative parts to medical equipment. One of the most interesting ways of using metal filaments is 3D printing movable mechanisms. Due to their abrasion resistance, they are durable and can be incorporated into other mechanical structures intended for long operation. Overall, such mechanisms can include gears, mechanical transmissions, rotors, fans, simple gadgets, parts difficult to produce on a traditional CNC machines, or shapes with complex geometries.
Movable metal mechanism 3D printed using BASF Ultrafuse® 316L filament.
There are two basic methods of 3D printing movable mechanisms with metal-polymer composite filaments manufactured by BASF Forward AM. They are discussed below with both pros and cons of each method.
Method 1: 3D Printing Each Mechanism Element Separately
The first method is pretty straightforward. It involves 3D printing each element of the mechanism separately and putting all the elements together after post-processing. When designing such models, it is important to apply all 3D modeling guidelines which we enlisted in the manual available at the Support Center: Zortrax Full Metal Package Manual. It is also crucial to remember that metal 3D prints shrink up to 26% during the post-processing stages. Therefore, this effect should be taken into account during modeling and parts should be scaled up accordingly.
Advantages
- you have great freedom when designing geometries,
- it is possible to improve the design of individual elements and reprint only the corrected ones.
Disadvantages
- printing mechanisms in a closed housing without fasteners can sometimes be limited,
- 3D printing of all elements will take a lot of time.
This method may require a bit of additional work once you’ve received all the components of the mechanism after the post-processing. As you can see in the gallery below, you can perform grinding and polishing of all the surfaces to make them as smooth as possible. This way you’ll make sure that the gears of the mechanism will rotate without any problems.
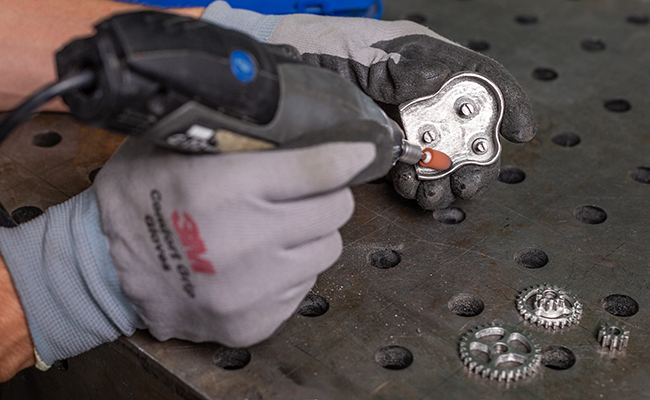
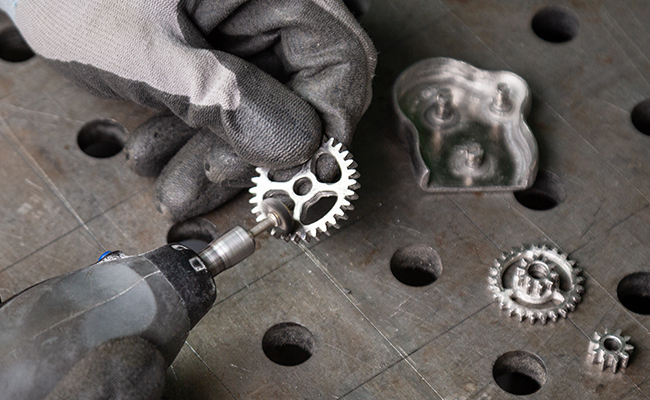
Metal 3D printed parts can be polished like regular steel.
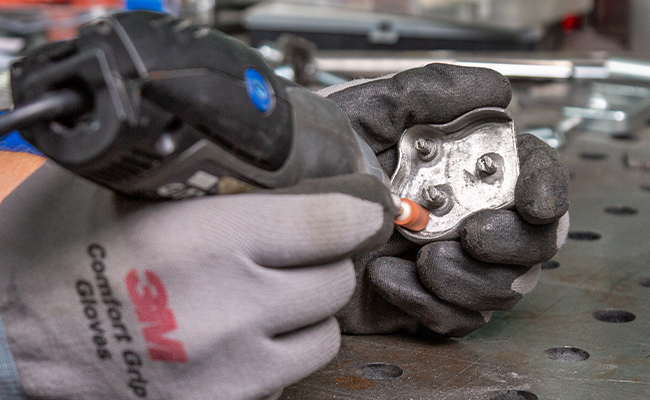
Using a Dremel tool, you can make the surfaces of your metal 3D prints smoother.
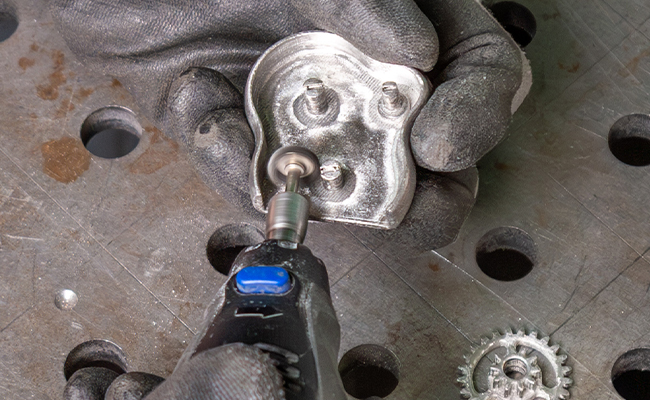
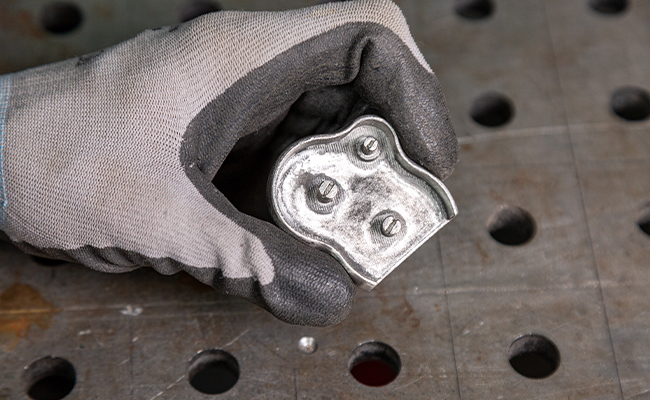
You can choose the best way to post-process your 3D printed metal parts.
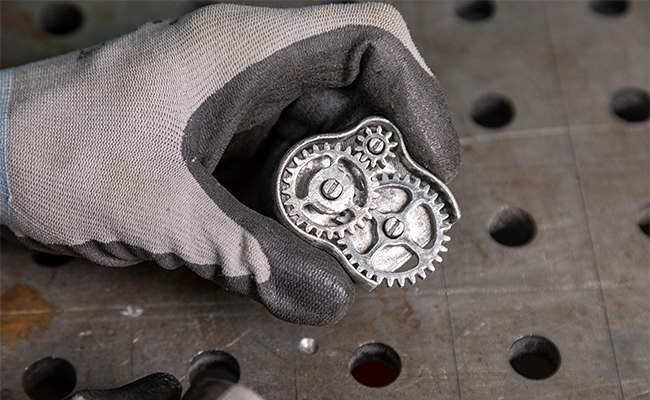
This way of post-processing will make your 3D printed metal mechanism rotate without difficulties.
After that, the components are ready to be put together.


Method 2: 3D Printing an Entire Movable Mechanism in One Part
3D printing movable mechanisms in one part without the need to assemble individual elements is possible thanks to a special feature available in Z-SUITE slicer, which has been developed specifically for metal 3D printing. This software feature automatically divides the support structures into smaller areas, which makes the process of removing supports during the final post-processing stage really easy. You simply need to use a special support filament BASF Support Layer. Thanks to that, you can 3D print your mechanism at once and be sure that it will be able to move.
Advantages
- you receive a ready mechanism immediately after post-processing,
- you can design and print the mechanism in a permanently closed housing, which, in some cases, is of a key technological importance.
Disadvantages
- when designing the model, you need to make sure that the mechanism will be able to move in the closed housing,
- some geometries may not be obtainable in this mode,
- you will not be able to process some models, for example by polishing, as reaching their interior would be impossible.
All in all, this method is more recommended for 3D printing of functional parts rather than those which are meant for display. If you want the 3D printed mechanism to have an aesthetic look to it, it is best to use the first method.
You can see how effortless it is to remove supports generated in the Z-SUITE slicer for 3D printed metal parts in the video below.
How Does Improved Supports in Metal 3D Prints Work in Zortrax Ecosystem?
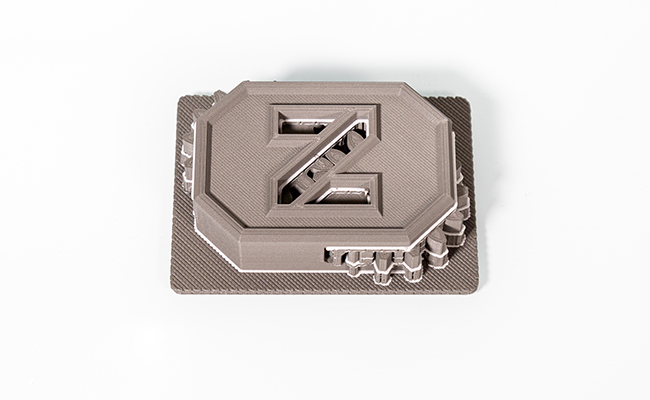
We can explain how both Zortrax ecosystem and Z-SUITE slicer enable 3D printing of metal movable mechanisms in one part based on a simple model that we called Z-Gadget. As you can see in the graphic below, the Z-Gadget is a simple mechanism consisting of two overlapping gears. The movement of one wheel prompts the movement of the other. And all these elements are enclosed in a one-piece housing.
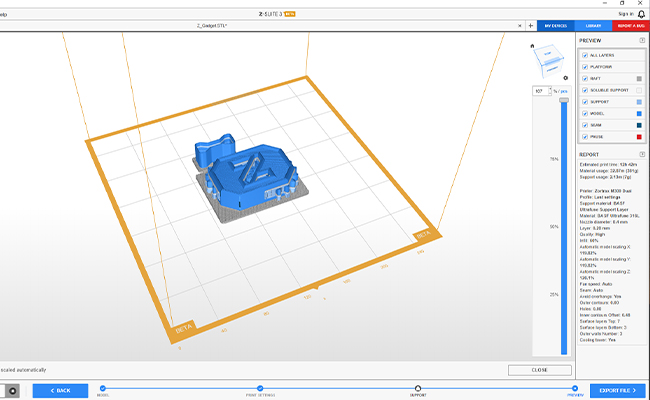
A .zcodex file prepared for 3D printing in the Z-SUITE slicer.
Between the housing surfaces and the gears (marked in dark blue), Z-SUITE automatically generated support structures (marked in pale blue).
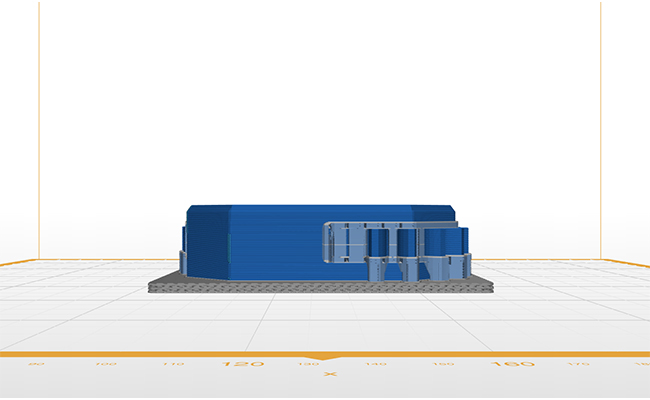
In this graphic, you can see where the support structures were generated.
One of the features implemented in the latest versions of Z-SUITE separates the supports structures in metal 3D prints with paths of BASF Support Layer, which ensures that blocks of support can easily be removed once debinding and sintering have been performed. Thanks to the use of a special support filament, it is possible to mechanically remove the supports located inside the one-piece housing after post-processing and the gears can freely move. Without this groundbreaking feature, developed by Zortrax engineers, the structures supporting metal 3D parts would be too large to be removed without damaging the entire print structure.
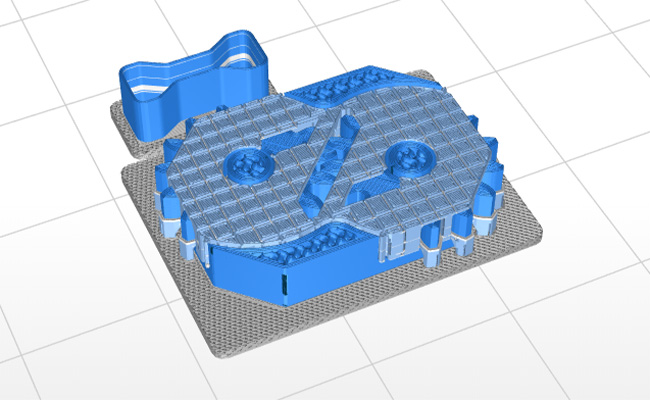
Divided support structures generated in the Z-SUITE slicer.
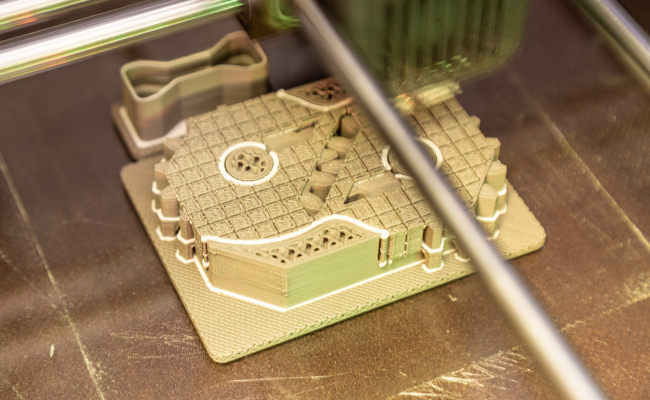
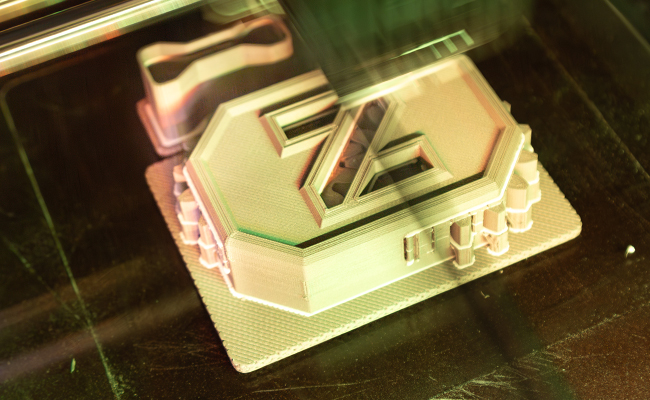
You can see what such supports look like during the 3D printing process on a Zortrax machine.
In the generated .zcodex file, you can see where the Zortrax 3D printer will use the BASF Support Layer filament.
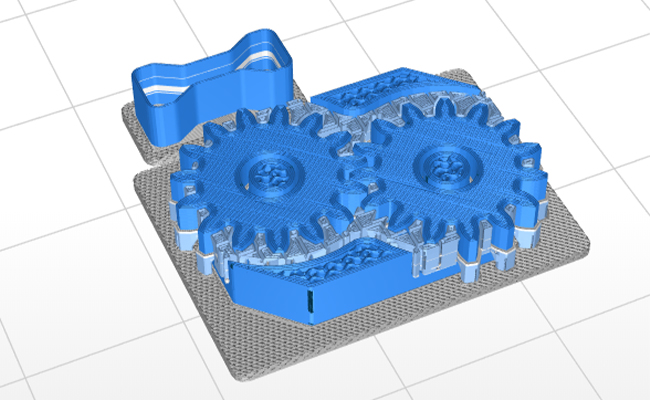
Final 3D printed metal mechanism ready to be sent for post-processing.
If you consider implementing metal 3D printing in your business, contact our sales department at: sales@zortrax.com. Our representatives will discuss with you the best way to introduce Zortrax Endureal or Zortrax M300 Dual into your work.
