Light Up Your Work—3D Printed Light Diffuser Case Study
BACKGROUND
It doesn’t matter if you are an experienced pro, or just a beginner in the field of photography – at some point you will need a flash diffuser which, although it is a simple tool, can make a huge difference when it comes to the quality of your photos. For those of you who are not so much into photography, the diffuser is the tool used to scatter the stream of flash so the photographed object is better lit, lighter and doesn’t cast shadow on the background. It also causes the details of the model being more visible and sharp. However, no talking is needed here as we are going to present you the evidence – in this case study two types of diffusors 3D printed on Zortrax M200 with the use of Z-HIPS and Z-GLASS. And since we got them we can’t really picture ourselves without them. Check out why!
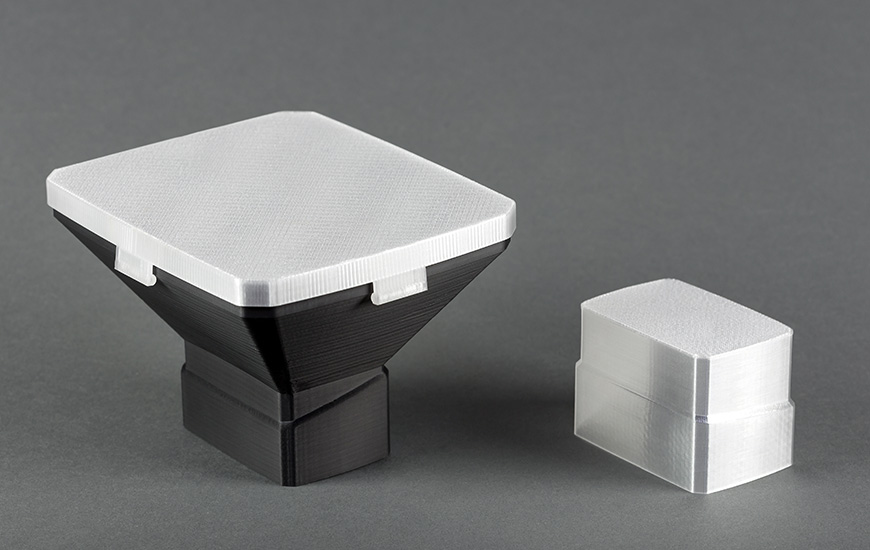
Two kinds of 3D printed light diffusers
GOAL
In this case study we wanted to create exact and working copies of flash diffusers. Our main objective was to make the objects not only perfectly matched and dimensionally accurate, but also fully functional. We also tried to check the performance of Z-GLASS printing material and if it offers a satisfying level of transparency and resistance at the same time. To make our study more reliable and satisfy our curiosity we decided to make 2 different models and check their properties. Last but not least, we wanted to check if it is possible to use our 3D printers and materials to create inexpensive and high quality end use objects fast and without the help from external companies.
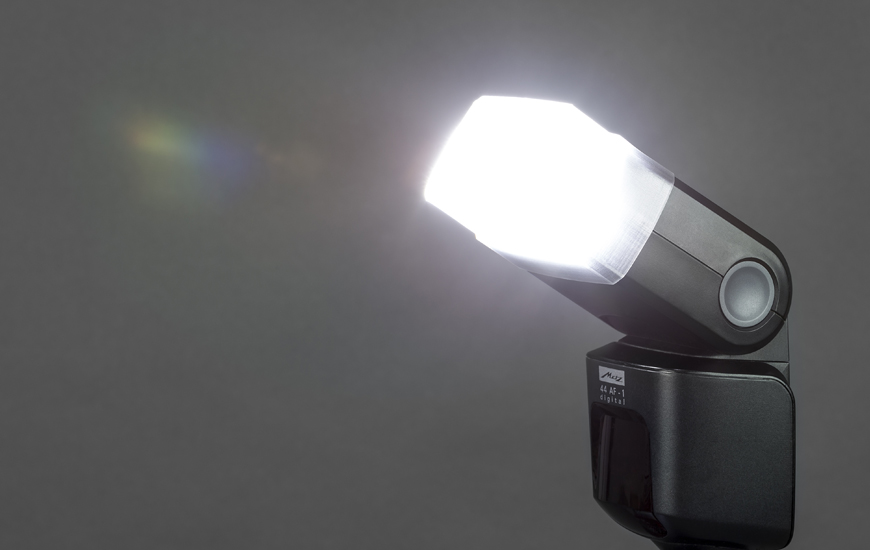
3D printed light diffuser mounted on camera flash
PROCESS
First we relied on our designer’s competences and then let the M200 do the rest. As usually, we started with the design made in Fusion 360 modeling program. Then transferred the model into our Z-SUITE slicer and set the desired layer thickness and the type of infill. In case of this model, namely the diffusing surface, it was essential as we wanted to come up with the surface which is thick enough to transfer the ultimate amount of light but also resistant. To obtain the optimum results we chose the 0.19 layer thickness. The total time of printing was 2 hours for the small diffusor and 10 hours for the bigger one (7h for Z-HIPS part and 3h for the Z-GLASS surface).
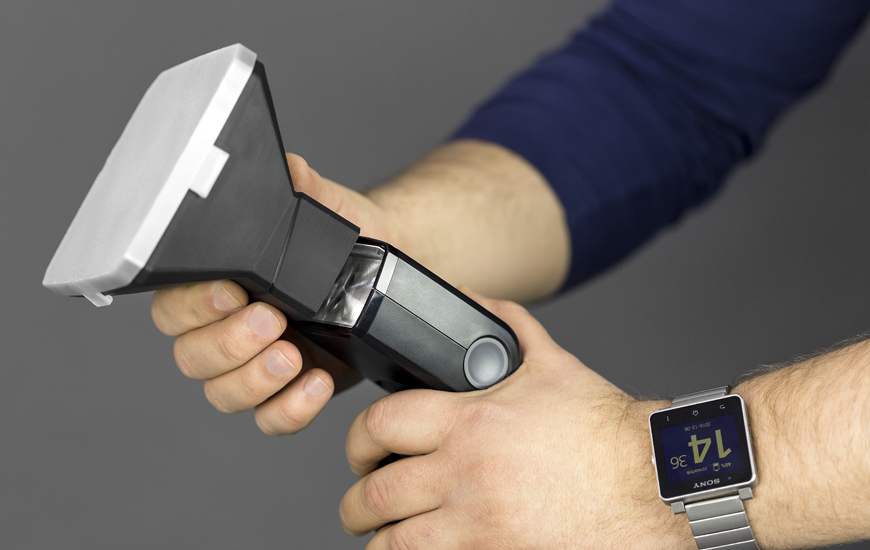
The 3D printed diffuser can be easily customized to any type of flash
RESULT
It works! As you can see in the pictures down below the diffusers did the job. Just compare the first photo, which was made without the diffusor with the second one. The quality of the details is greater and the light visible on the picture is much softer. We can increase the amount of details by increasing the power of lamp without the effect of overexposure. When it comes to the dimensions of each diffusor they are well designed as each element matches the camera, so there is no need to make any adjustments.
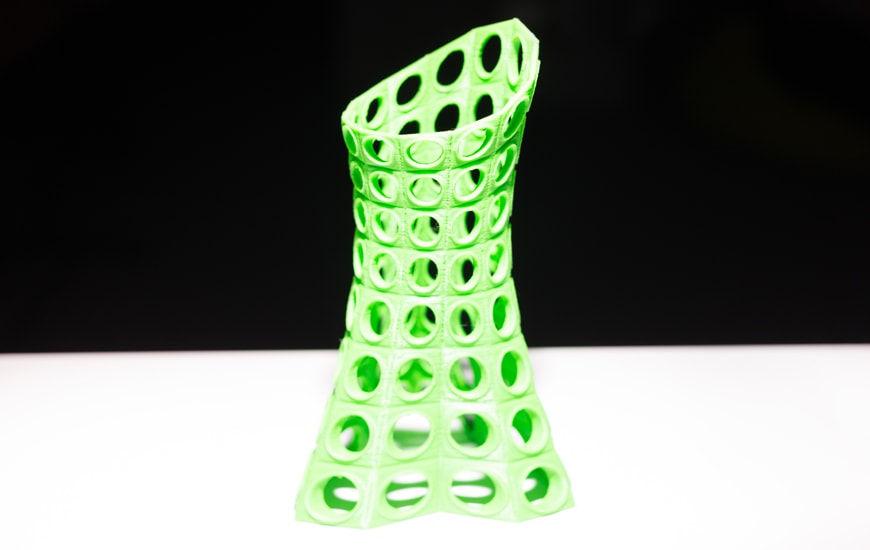
Photo without the 3D printed diffuser
Photo with the 3D printed diffuser
CONCLUSION
There’s no doubt that 3D printing will find its place in photography. Thanks to it we can produce end use objects such as diffusers or various gimbals and holders adjusted to the type of camera and its purpose as you can see it on the great examples of NIXA company. The obvious advantages of 3D printing the flash diffusers is that we can adjust their dimensions to our camera and do the same with the layer thickness of the diffusing surface to modify the effect of dispersion. There is no surprise that all the process was done fast and in-house, without spending money on expensive equipment.
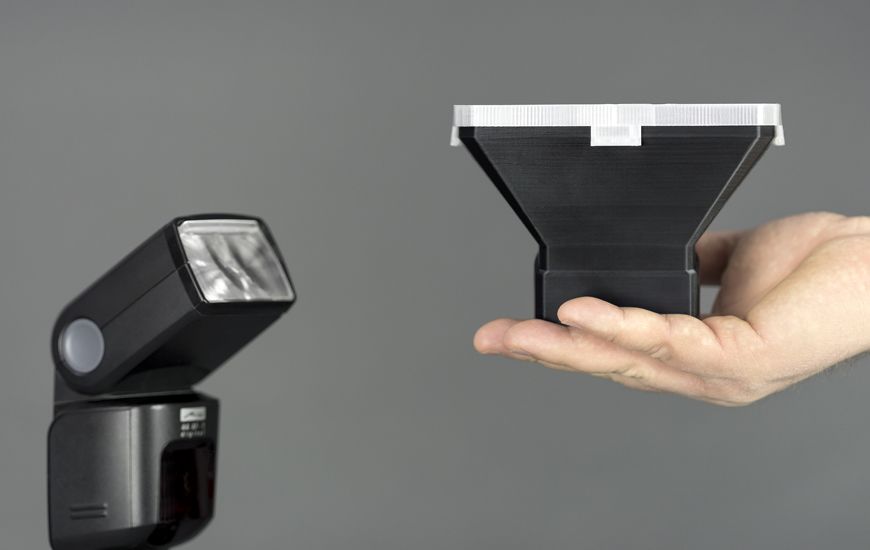
Ready to use 3D printed light diffuser