3D Crafting for Superheroes and Supervillains
In 2009, Rocksteady Studios has launched Batman: Arkham Asylum. The game was well received for its innovative gameplay mechanics and grim atmosphere. For some, the realistic experience become an inspiration for doing something good. One of them has decided to step further. Meet Dave Nemeth from Victoria, Canada.
Everyday Heroes
Dave, inspired by the design of the protagonist’s costume, decided to create one for himself. The goal, 2010’s Halloween party, was met after weeks for preparation. After the party Dave realized, that all the energy and time he has invested in making the costume, would soon go to waste. The outfit created for a single night, could be used again though and this time, for a greater good.
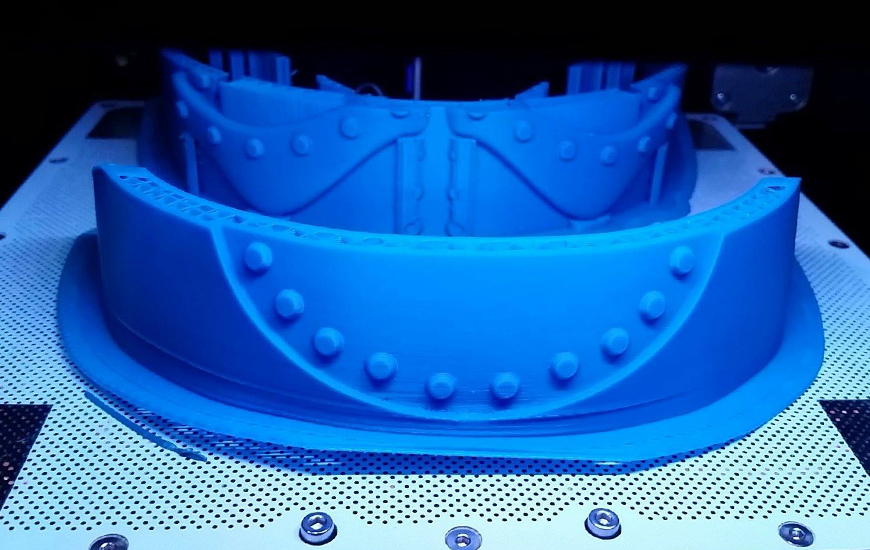
Inside Dave’s Zortrax M200 3D printer
Dressed as a superhero, he begun to visit local comic book stores and movie theaters, but a true turning point was the visit at BC Children’s Hospital. The excitement of young patients was hard to describe, but from that moment, the costume had a purpose. Soon, Dave formed Heroes Inc – a group of cosplayers focused on community and fundraising events. The outfits drew attention, which led to questions about their source. A bolt of inspiration struck yet again. If he could make one costume, why not make more?
Craftsman’s Tools
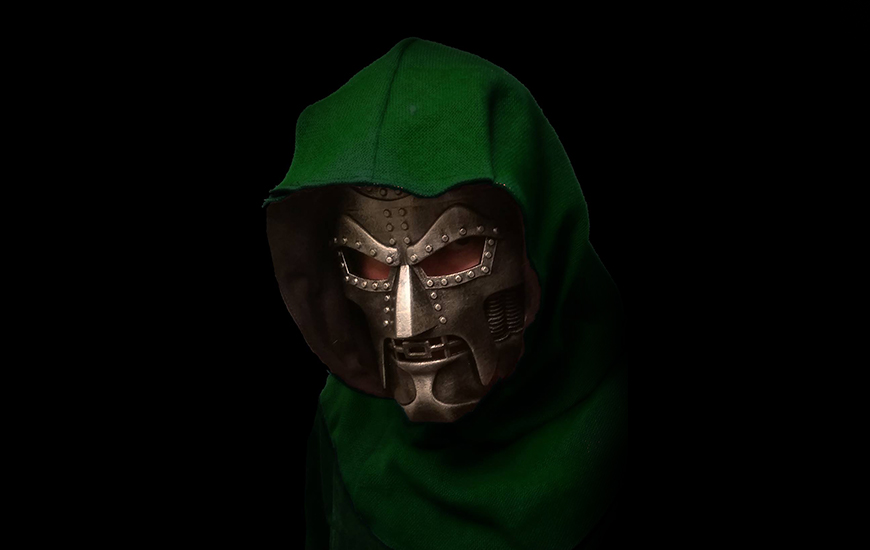
Hero Craft Creations is an online store of Dave and his brother. They are specializing in creating high quality yet low cost props casted from molds. Their etsy shop offers mostly headpieces, like helmets and masks of superheroes and supervillains, but they are open for custom orders. At the beginning, Dave have experimented with clay and other materials for making the master copies of his inventory. Unfortunately, sculpting in clay required a lot of effort, time and most importantly experience. Unhappy with the results, he began looking for alternatives.
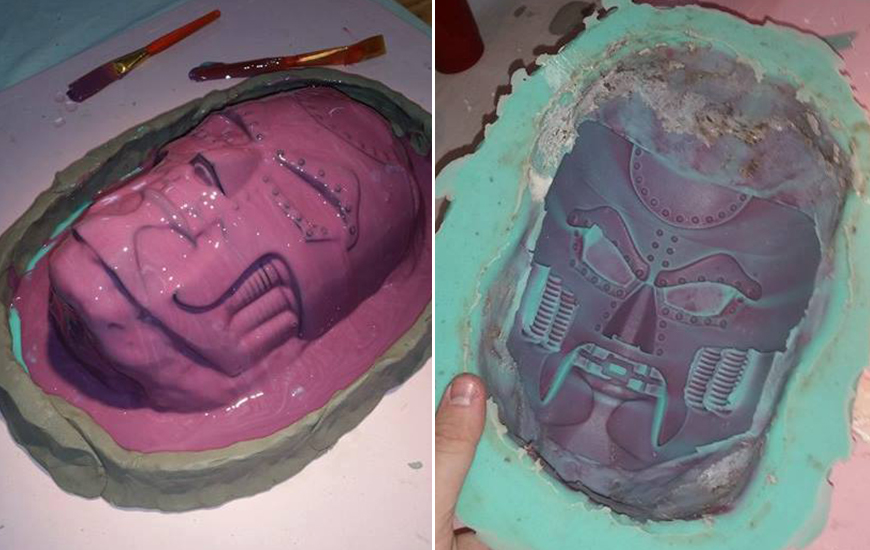
Making of the mask’s pattern
After over a year of using the 3D printer for creating the master patterns, it’s hard for Dave to think of other methods. His Zortrax M200, nicknamed “the oven”, is working almost every day. Dimensionally accurate and perfectly symmetrical objects are extremely hard to achieve with clay, especially if you are not trained in sculpting. With a reliable 3D printer, such problem is nonexistent. Nevertheless, the deciding factor for choosing Zortrax 3D printing solutions was the ease and integrity of the whole process. Just like with clay, Dave had no experience with 3D printing, yet the results were far different. Z-SUITE contributed greatly to the overall 3D printing experience. Even for inexperience user, Dave was at the time, the model preparation was clear. One less barrier for the maker!
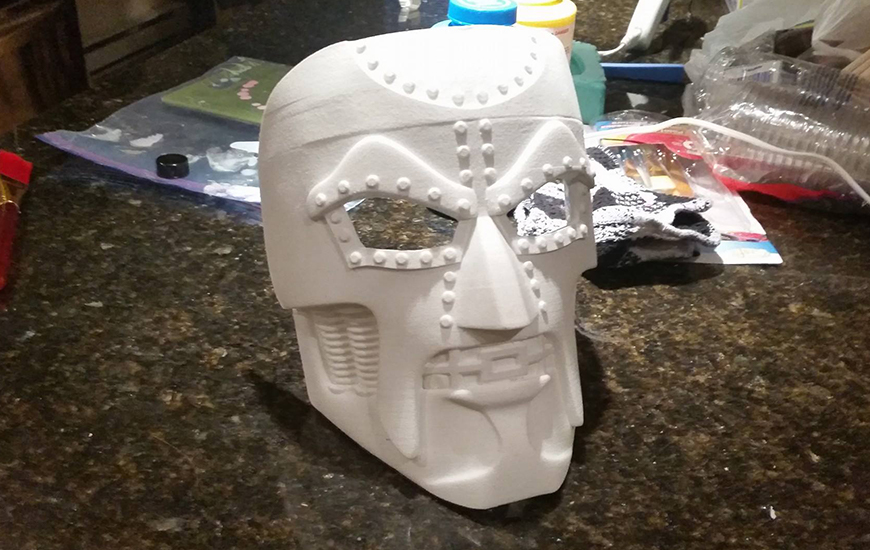
3D printed mask ready for mold casting
Making a Cowl
Although, his Zortrax M200 3D prints mostly the master patterns of the items, it works on average 8 hours per day. Each helmet takes roughly 3 days to finish. What it means, the device is constantly consuming the 3D printing material. Fortunately, Dave is using economical Z-ABS, which is perfect for creating the masters. But, there’s more about the Z-ABS and its properties. Leftovers, removed support and rafts can shredded and mixed with acetone to create the ABS juice. Helmets, usually large, must be divided and 3D printed in pieces. With the smart distribution on the workspace, all pieces might be 3D printed in one go, still they have to be merged when finished. This is when ABS Juice come in handy, gluing parts together seamlessly. Furthermore, acetone can be also used for easy and safe post-processing of Z-ABS.
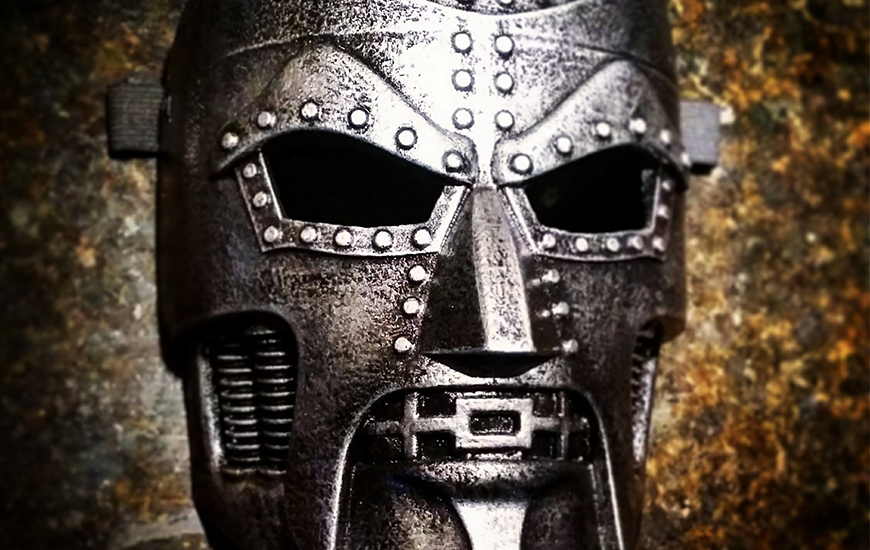
Mask almost ready
With the master pattern sanded, primed and painted, Dave starts the molding. The first step is to create the mother mold. All the open spots like eyes or mouth should be filled with water based clay. Dave uses gypsum plaster for creating hard, cement-like shell around the mold, so it won’t warp during the process. Next, with the mother mold ready, casting begins. For creating hollow objects, like helmets, the slush casting technique is preferable. The silicon material will be poured inside the pattern and rocked until it covers the walls evenly. Each layer takes around 15 minutes to cure, depending on the material’s properties. Layer by layer, Dave continues to pour and rotate the mold, until he is satisfied with the thickness. The last step is to demold, then the prop is ready for final treatment and painting.
What Makes a Hero?
“Besides the overall look of the unit and support that I was given when I approached Zortrax about it, I would have to say that the Z-SUITE software” – says Dave when asked about the reasons for choosing Zortrax. Furthermore, Zortrax M200 has helped him to reduce the amount of work prior and after the creation of items for Hero Craft Creations store. Laborious and time-consuming sculpting was replaced with integrated and intuitive 3D printing. What’s more, it brought the advantage of hard to compare accuracy. Saved time can be used for more detailed finishing touches of the works, but in case of Dave Nemeth, it’s safe to say there’s little to improve. Instead, he can concentrate on more heroic tasks, like bring a bit a smile to those in need of one.
All photos courtesy of Dave Nemeth.