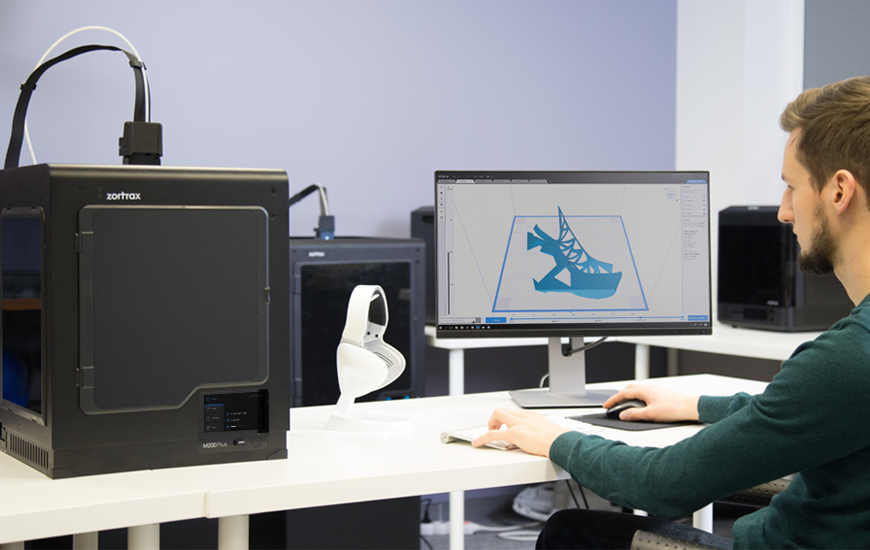
Unboxing of Zortrax M200 Plus Wi-Fi 3D Printer
Summary
- Unboxing of Zortrax M200 Plus 3D printer is fast and easy.
- Nevertheless, it's important to follow a few simple step to avoid risk of damage or malfunction.
- Watch the video guide below for the complete walkthrough.
Unboxing Zortrax M200 Plus 3D printer is as simple as it is exciting, but there are few things worth remembering before you begin.
We’ve made sure that with the use of our manuals and tutorial video, you’ll be able to effortlessly remove Zortrax M200 Plus from its box and properly set it up.
Manuals and Packaging
Zortrax M200 Plus is our newest high-performance 3D printer with Wi-Fi capability. The box containing it, comes with a handy manual that explaining every stage of the unboxing procedure. Inside you’ll find the 3D printer with protective cushioning, along with other important sets of information and brochures. There’s a lot of other components to unpack besides the M200 Plus. The cushioning itself hides the power cable which you’ll need to plug into your 3D printer to the power socket. After you’ll get past the protective foam, you’ll be able to take out the M200 Plus. You’ll need to do it carefully by putting your hands on the sides of the machine. Do not grab the 3D printer by the rods, belts, shipping clips or the extruder since you may damage some of the key components. Unlike the original M200, this new version comes with side covers that are already installed. However, you’ll need to take at least one of them out before plugging in the machine, since the inside hides more goodies.
Key Components
One of the key additions to the package is your starter kit. Inside the kit we’ve included safety gloves and glasses – because you can never be too careful; a cutting knife and scalpel to get rid off small material elements and perform maintenance; allen keys which you can use to open up the printer; nozzle key and needle which can be used to clean and take off the nozzle; a set of pliers and tweezers to precisely remove support material; a spatula to safely take out the print from the build platform; service grease which you can use on both axes to ensure their smooth operation; cable holders which are to be used to hold the material and the extruder cables together; and cable clamps which you’ll need to insert at the back of the printer.
The final components in need of unpacking can be found in the protective foam placed inside the printing chamber. The foam holds the spool of filament. With it, you’ll also find a spool holder to properly attach your spool to the back of the 3D printer, and the material guide explaining how to get your filament into the extruder. Finally, there’s also the heatbed cable which can be effortlessly attached to the adapter inside the printing chamber. Dos and Dont’s
To make sure that your new desktop 3D printer is working flawlessly, it’s always advised to be thorough and safe. Remember to read your safety data sheets which inform you about various electrical, mechanical and fire hazards. Also don’t forget to have the most recent version of firmware installed for the best possible 3D printing experience. Much like with any electrical appliance, food and beverages should be kept away from the printer. The vapors released during 3D printing are mostly harmless, however, it is still advised to keep the printer in a properly ventilated environment or use a Zortrax HEPA Cover to filter any emissions and undesired smells. You can read more about the benefits of Zortrax HEPA Cover here.