Zortrax M200 for Toy Industry – 3D Printed Mr Walthersnap and Friends
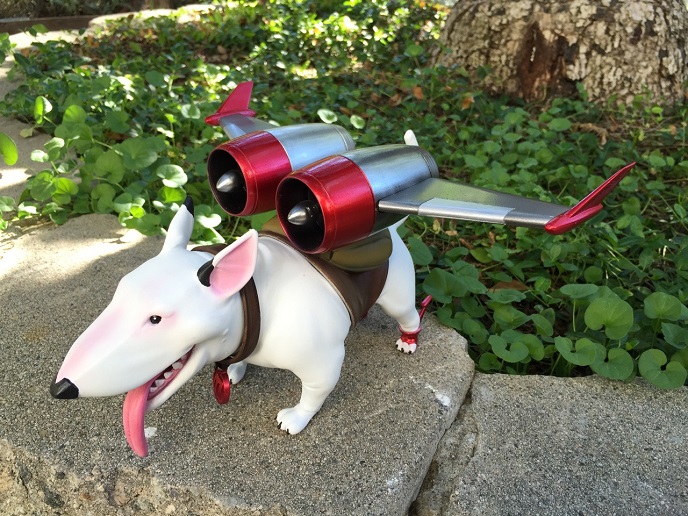
Wonder what possibilities Zortrax brings to toy industry? See an example of Mr. Walthersnap and friends by Jose Alves da Silva 3D printed on Zortrax M200 and prepared by David da Costa.

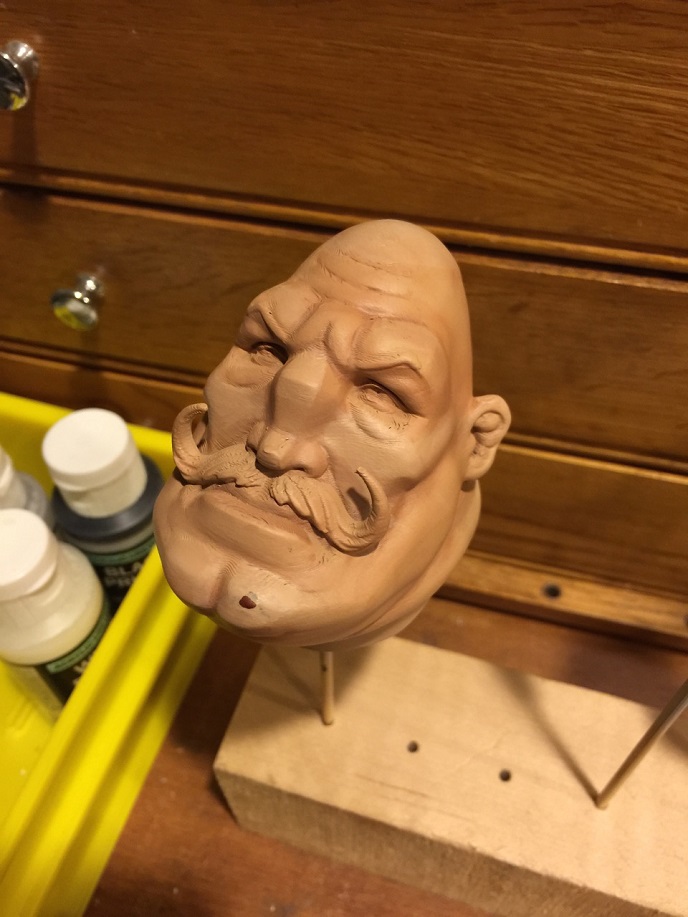
Parts of the characters were designed by Jose Alves da Silva to be successfully 3D printed without the support. David printed all the models at 2 times the original model size using Z-ABS throughout. All prints were done at 0.14 layer thickness with a few exceptions like e. g. the heads which required higher resolution to make finishing easier.
Once printed, David proceeded the models as follows:
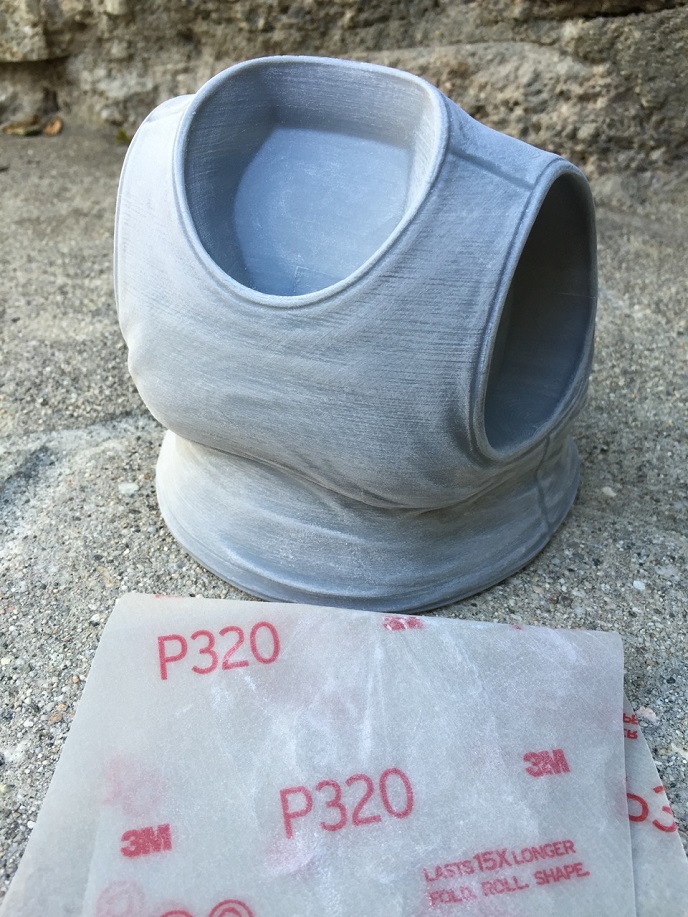
All parts were sanded with 320 grit sandpaper (in some cases he used 200 first for rough areas). Then compressed air to remove all dust.

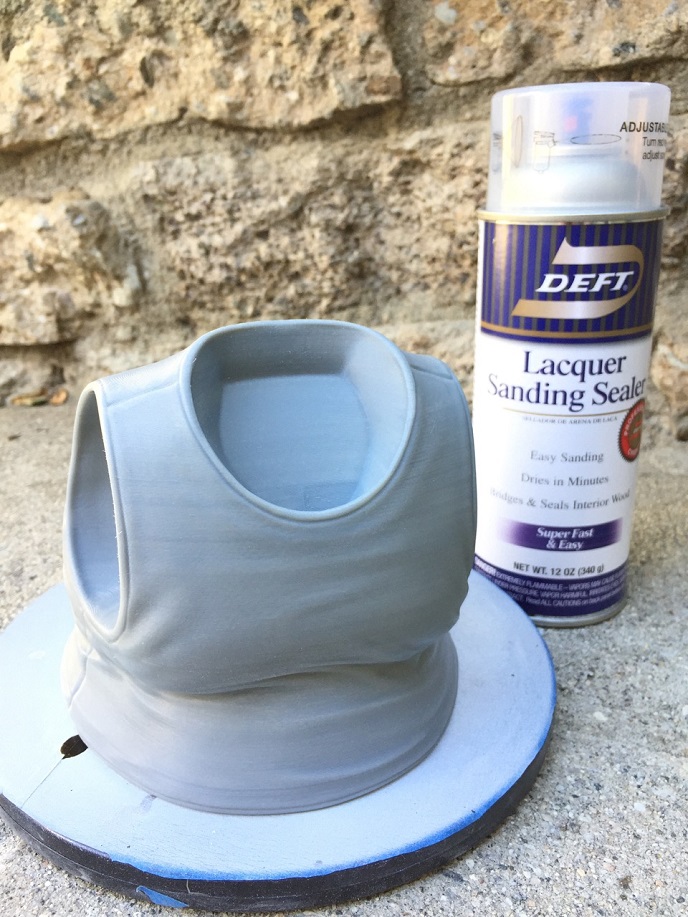
He sprayed a thin coat of Deft lacquer sanding sealer which is to help fill in the “troughs” between each layer and smooth the surface. After the model dried completely, he sanded the piece again.

Next, he sprayed a coat of Rustoleum 2 in 1 filler & sandable primer. This starts to fill in the troughs between layers and also makes it easier to see which areas require further sanding or filling.

He left the piece to dry, then he sanded it again with 320 grit sandpaper. Next, he used Tamiya putty to fill any remaining rough areas or any occasional small areas of delamination, which happens sometimes with large, long duration prints.
Once he finished, he drilled a small hole in one of the joint surfaces of the model that will not be seen and hot glued a wooden skewer into the hole to provide a place to hold the model while painting. Then sprayed a coat of Tamiya fine gray primer and did a final check of the model and moved on applying the final paint.

David used mainly acrylic paints such as Golden Fluid and high flow acrylics, Tamiya, Valejo and Garage kits. For special finishes such as the chrome and metallic areas on the engines and wings of Eddie the dog, he used Alclad II lacquers and enamels.
An airbrush for most of the base, shadow and highlights colors used if needed, for details like eyes and any washes – a brush.
Once all the color have been applied he finished with Testers dull coat in most areas with the exception of metallic or chromed areas which he sprayed a thin coat of Pledge Future and the eyes which he finished with a coat of gloss acrylic varnish.
Once all the paint is complete and dry, he assembled the model. On these particular models he used mostly hot glue (hot glue gun) to assembles. For some of the smaller of tight fitting parts he used crazy glue.
The final effect is brilliant!