How to Make Your Models Shine: A Quick Guide to Acetone Smoothing
3D printing offers a wide range of solutions for various industries, businesses or simply hobbyists, beginning with prints of handy toothpaste squeezers, through prototypes for Asteroid Redirect Mission by NASA, ending with fully functional protective and mechanical components for a bionic hand.
Yet, LPD/FDM technology has some limitations when it comes to the quality of a finished product. Even when using the lowest layer height possible, particular layers can be still visible on models, especially ovoid ones. Nevertheless, every cloud has a silver lining, and there is a hack that will help you obtain a better finish of your models. It’s called acetone vapor smoothing.
Smooth it Out
Acetone is a chemical solvent that easily reacts with ABS-based materials. Actually, it can dissolve your models completely. However, if you handle it properly, you will be able to get smoothened models with a glossy surface. Not only will an acetone bath improve the overall look of 3D printed objects, but also provide better friction of, for example, mechanical parts.
 What you will need is:
- A model printed with an ABS-based filament
- Acetone
- A piece of gauze
- A glass container
- Magnets
- A mat made of a material that doesn’t react with acetone, e.g. glass
Safety First
Since acetone is a hazardous and flammable substance, safety gloves are a must. Once you’ve put them on, you can start doing the trick. But remember not to inhale acetone vapors as they can irritate your respiratory system. Thus, good ventilation, or just opening a window, would be a good idea.
First, it is necessary to remove a raft or support structures that have been printed with a model. Any remnants of these structures can be still visible on a smoothened object and will affect the final quality.
Acetone in the Jar
 Next, you need to properly assemble a glass jar and a piece of gauze. Put the gauze at the bottom of the container and secure it with magnets by placing one magnet inside, and the other outside. Now you can pour about 50 ml (1.70 fl.oz.) of acetone onto the gauze. You can do it directly from a bottle or use a measuring scoop. But remember – acetone cannot leak through the gauze into the container.
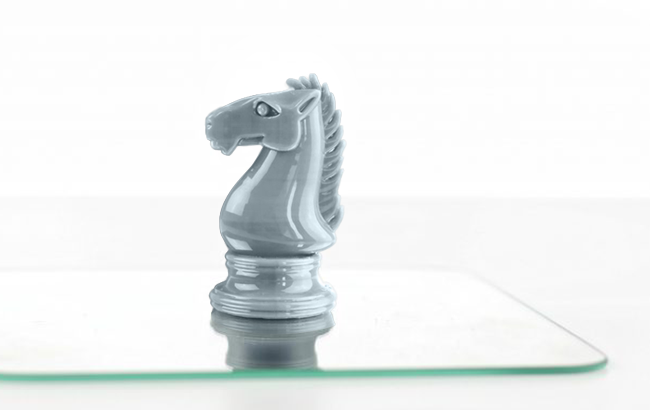
Now, place the model on an acetone resistant mat and cover it with the jar. Leave it like this for about an hour, not longer. You do not want to melt any details or lose particular physical properties of your 3D printed object.
The final step is to let the model air-dry. You can now enjoy the current look of your object or, for example, paint it, as the obtained surface is perfect for further post-processing methods.