How 3D Printing Accelerates the Work of a Phygital Sculptor
Summary
- Fulvio Gollinelli, an artist from Rome, Italy, specializes in phygital sculpting. This creative process combines all the traditional sculpting methods with the variety of digital tools, such as modeling software or 3D printers.
- Zortrax ecosystem supported his work on a symbolic sculpture he has recently created as a reproduction of his work from 2019.
- Fulvio used the Zortrax M300 Plus to 3D print the core of the sculpture. The filament he opted for was Z-HIPS because of its low shrinkage.
“3D printing is an indispensable method to physically get my shapes done without limiting my digital creativity,” says Fulvio Gollinelli, an artist from Rome, specializing in symbolic sculpture. In his workshop, he utilizes a range of manufacturing techniques that include manual work, CNC-based machines, as well as additive manufacturing. For the 3D printing part of his projects, Fulvio uses several pieces of the Zortrax ecosystem — 3D printers, software, and a cloud-based platform.
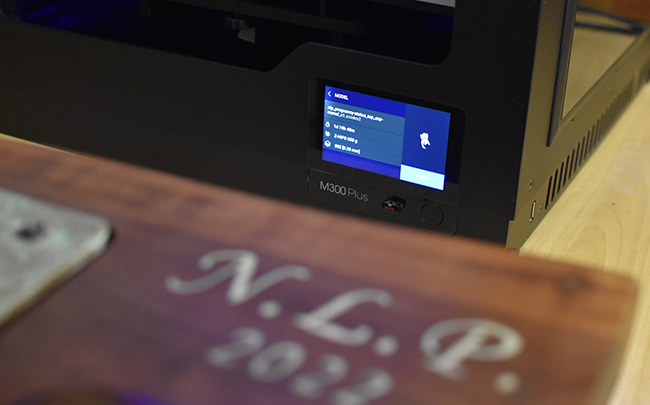
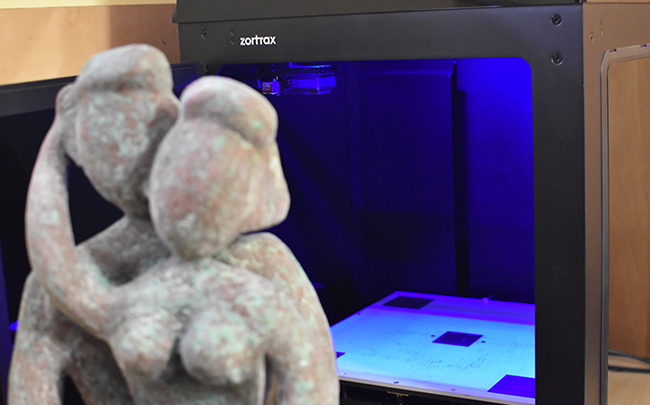
Zortrax M300 Plus in Fulvio’s workshop.
Combining Traditional Sculpting with 3D Printing Technology
Having graduated from computer science, Fulvio gained his professional experience in the field of embedded systems and automation. But despite this strongly technical background, he still actively pursued his hobby — sculpting and engraving. In fact, back in 2018, he took his passion to the next level and set up his own art studio F.G. Concepts. Fulvio combined seemingly different fields with a lot of success, and after working on projects for other people initially, he decided to fully commit to creating his own art: “I started to produce my own digital design and artworks thanks to both my experience in traditional sculpting and the skills I acquired by working in the Industry 4.0,” Fulvio explains.
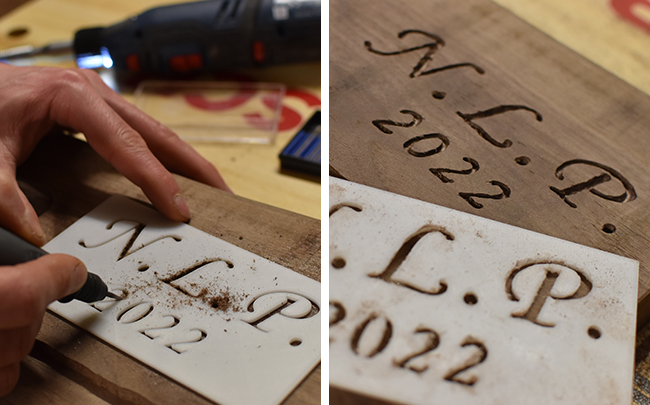
Traditional sculpting with the use of a 3D printed pattern performed by Fulvio in his studio.
Now the artist mostly focuses on phygital sculpting. The term encompasses a very interesting creative process, in which Fulvio combines the traditional manufacturing methods, such as engraving (physical sculpting), with the whole set of digital tools that include:
- modeling and sculpting software,
- data acquisition systems, such as 3D scanners, photogrammetry,
- 3D printers,
- CNC machines.
But as Fulvio emphasizes, he blends digital and conventional sculpting methods not only to get the final part done, but also at every stage of the manufacturing process: “It’s sort of a loop, where I use the digital capabilities to better obtain what I want in the real world, and on the other hand, I traditionally evaluate the analog outcome (based on natural materials or chisels I’m going to use) to better understand what I can actually design.”
Using the Range of Zortrax 3D Printing Solutions in an Art Studio
Recently, Fulvio has completed a minimalistic sculpture in Scandinavian style which is a reproduction of the statue he was commissioned in 2019 by clients from Denmark. This time, however, the piece was meant to be bigger and covered with bronze. When working on the project, Fulvio usually follows a three-step workflow:
Workflow Step 1: Sketch and Digital Design
First, Fulvio drew a few sketches of the sculpture from different angles for his own reference. Next, he proceeded to modeling in the software of his choice: “I modeled all the basic shapes of the statue in Rhinoceros, where I have the full control over the geometries and measures. I then went on to the digital sculpting in ZBrush, my favorite software for organic shapes,” Fulvio specifies.
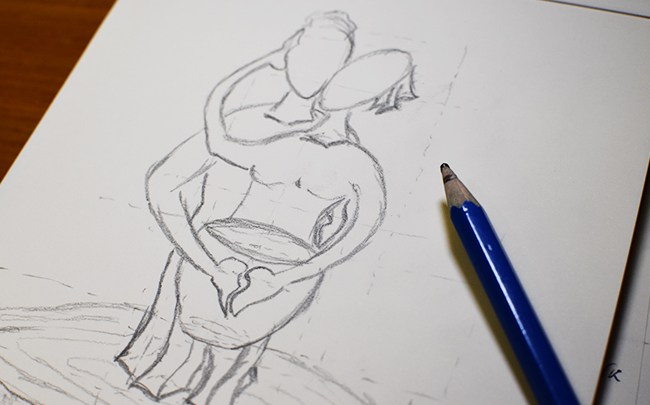
The drawing Fulvio prepared in the initial stage of the project.
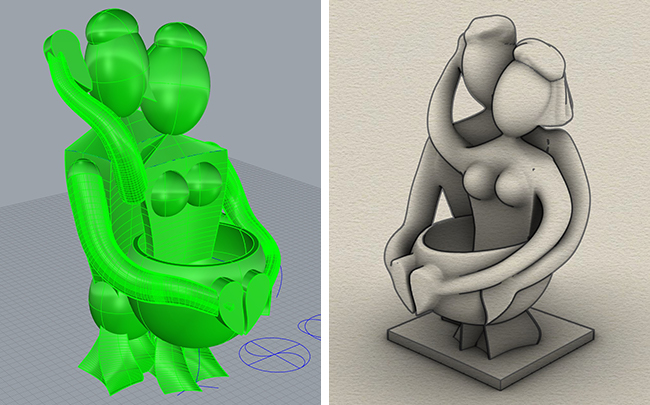
3D modeling Fulvio performed in Rhinoceros software.
Renderings of Fulvio's sculpture generated from the 3D model
What Fulvio got out of this stage, was a set of files and documents helpful for both digital previews and the manufacturing processes of the artwork. Even though the artist had all the tools to produce the design in one piece with all the complexity considered, he decided to split his project into simpler parts and manufacture them separately. As Fulvio emphasizes, the motto that defines his style of work is: Design it complex, fabricate it simple.
Workflow Step 2: Core Structure 3D Printing
For the next step, Fulvio planned 3D printing with his two Zortrax machines. The statue had been designed to be 60 cm [23.62 in] tall. Such measurements required splitting the object into two parts and using the Zortrax M300 Plus because of its big build volume. In the meantime, all the smaller details, such as the author’s sign and logo, were 3D printed on the M200. Since the 3D printing of the sculpture’s core could have been risky considering its size, Fulvio opted for the low-shrinkage Z-HIPS.
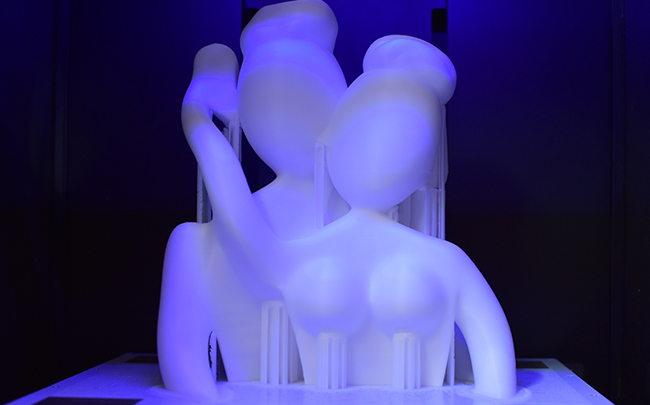

The 3D printing stage Fulvio performed on Zortrax M300 Plus
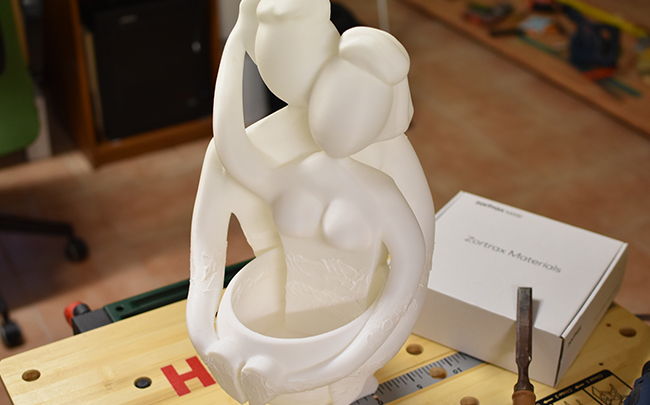
Fulvio Gollinelli in the process of grinding the surface of the 3D print.
Final shape of the 3D printed core structure.
Choosing the proper settings in Z-SUITE was crucial because of the fact the model was to be covered in polyester resin. Fulvio wanted the surface of the print to be as coarse as possible: “That’s why I selected 0.29 mm layer thickness, 10% infill density, and I used the Lite mode for the supports. The other parameters were left at their default values.” Fulvio remotely controlled his printers through the Zortrax inCloud platform whilst sculpting non-printable parts in his workshop.
Workflow Step 3: Bronze Shell Making
3D printing of the pieces took Fulvio 4 days, and after that, he moved on to the scheduled post-processing. First, he assembled all the parts together and sanded the joints. To make the bronze shell on the surface of the 3D print, the sculptor applied three layers of polyester resin and bronze powder onto the whole statue.
Once the resin was fully cured, Fulvio scrubbed the shell with steel wool, and then, applied a layer of chemical patina onto the sculpture. This way, the final art piece gained a finish typical for bronze objects.

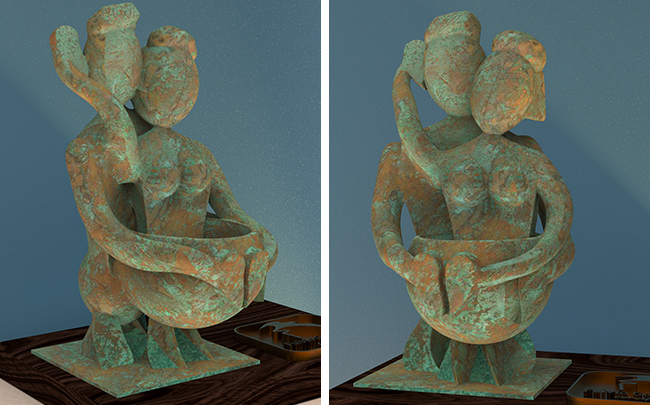
Fulvio’s sculpture covered in polyester resin (on the left); Ready sculpture with the bronze shell (on the right).
Facilitating the Process of Creating Large-Sized Sculptures with a 3D Printer
“M300 Plus lets me think bigger as it gives its best when printing large volume parts,” Fulvio adds. But this is not the only advantage of 3D printing he sees in phygital sculpting. Even though 3D printers cannot replace all traditional sculpting methods and tools, they can certainly let the artist save time and money: “3D printing mitigates the costs for an artist who experiments in their work, and what’s more, it leaves a lot of time for tinkering with the digital designs.”
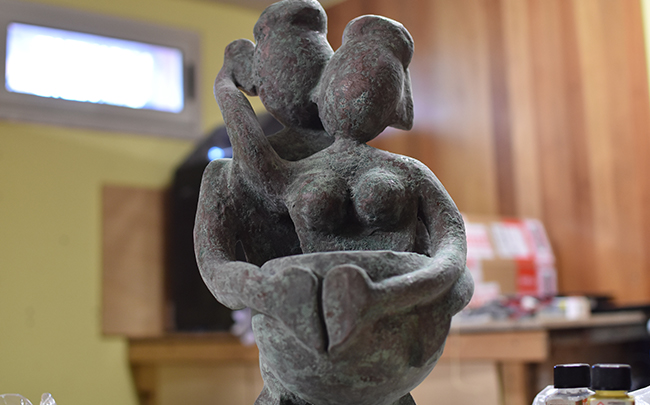
The completed sculpture with the 3D printed core structure in Fulvio's workshop.
The completed sculpture with the 3D printed core structure and polyester resin bronze shell.
In Fulvio’s case, sculpting a large-sized statue manually would be an arduous task requiring additional measures: “Working with epoxy or polyester resins, where heat, air bubbles and deformation management can be frustrating and require further moulding, sanding, or degassing tools.” Instead, Fulvio successfully prototypes master copies on his M300 Plus, as well as simultaneously produces mid-sized details on his M200.
Learn how the features of the Zortrax M300 Plus can provide a rock-solid performance in a variety of projects.